If your Tesla’s front license plate bracket has come loose or fallen off entirely, you’re dealing with a known weak point in how Tesla mounts it, not something you did wrong.
Tesla’s front bracket attaches with adhesive rather than a bolt-through mount, and the company’s own installation instructions acknowledge the adhesive is sensitive to conditions: Tesla recommends installing it “on a clean, dry vehicle during a warm day,” and warns that “cold and/or wet conditions may result in reduced adhesive performance.” In practice, that means winter installs, car washes, and steady highway rain are all common triggers for the bracket to loosen or detach.
If you’re reinstalling the factory bracket, Tesla’s instructions call for cleaning the mounting spot with isopropyl alcohol and letting it dry for at least a minute before applying the adhesive — and testing the alcohol on a hidden painted spot first, since it can affect some finishes. Once the bracket is positioned, you get one shot: per Tesla, “you will be unable to reposition it once adhered to the bumper.” The plate itself then attaches to the bracket with four screws, torqued to 3 Nm.
One thing Tesla is explicit about: don’t just clip on a standard aftermarket license plate frame up front. Tesla’s documentation warns that a front plate frame “may obstruct the camera” built into the front bumper. If you want a sturdier mount than the factory adhesive bracket, look for a product designed around that camera rather than a generic frame — some aftermarket options, like the SnapPlate mount sold by EveryAmp, use a no-adhesive, no-drill clip-on design specifically to avoid both the adhesive failure problem and camera obstruction.
Whichever route you take, plan the install for a warm, dry day, and don’t expect a rushed five-minute job to hold through a hard winter.
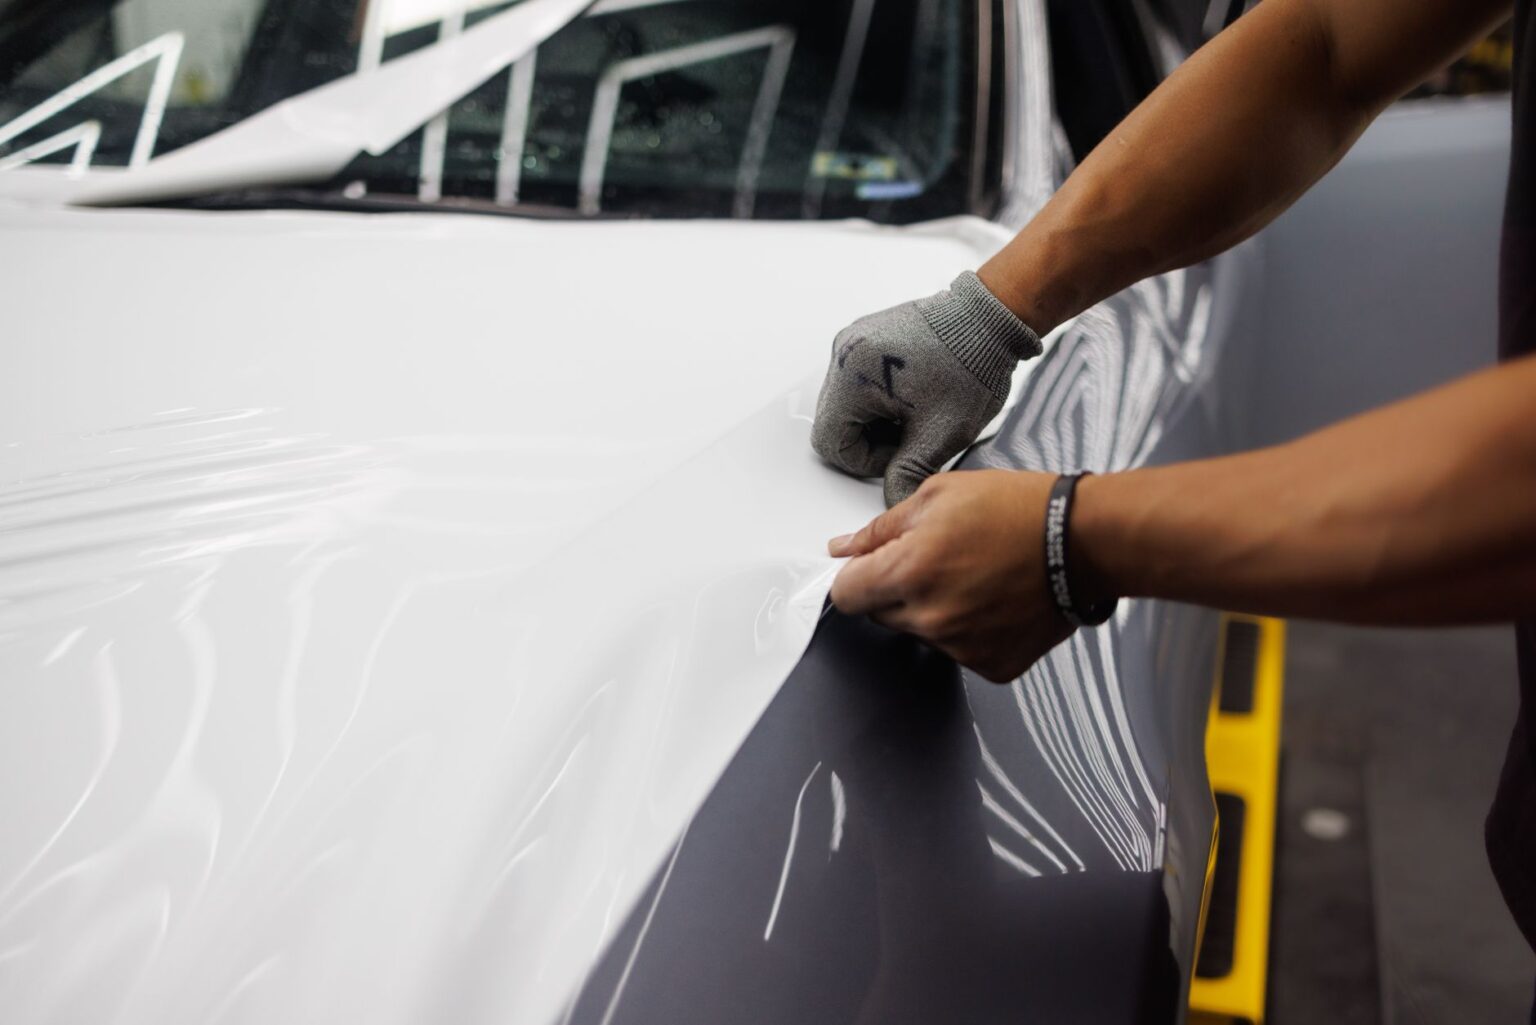
Photo by Auto Records.
Tags